|
Water Movement + Pipes/Plumbing
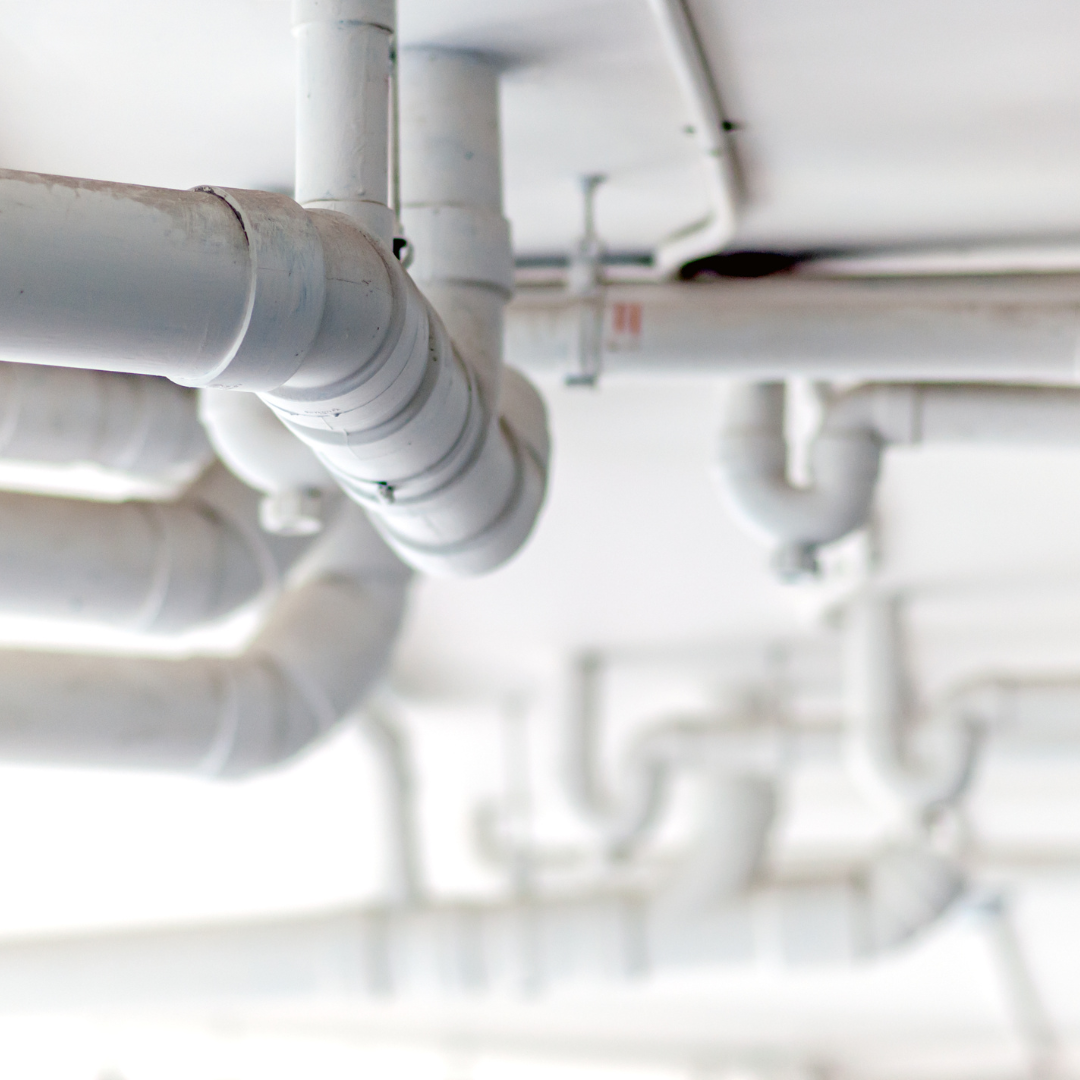
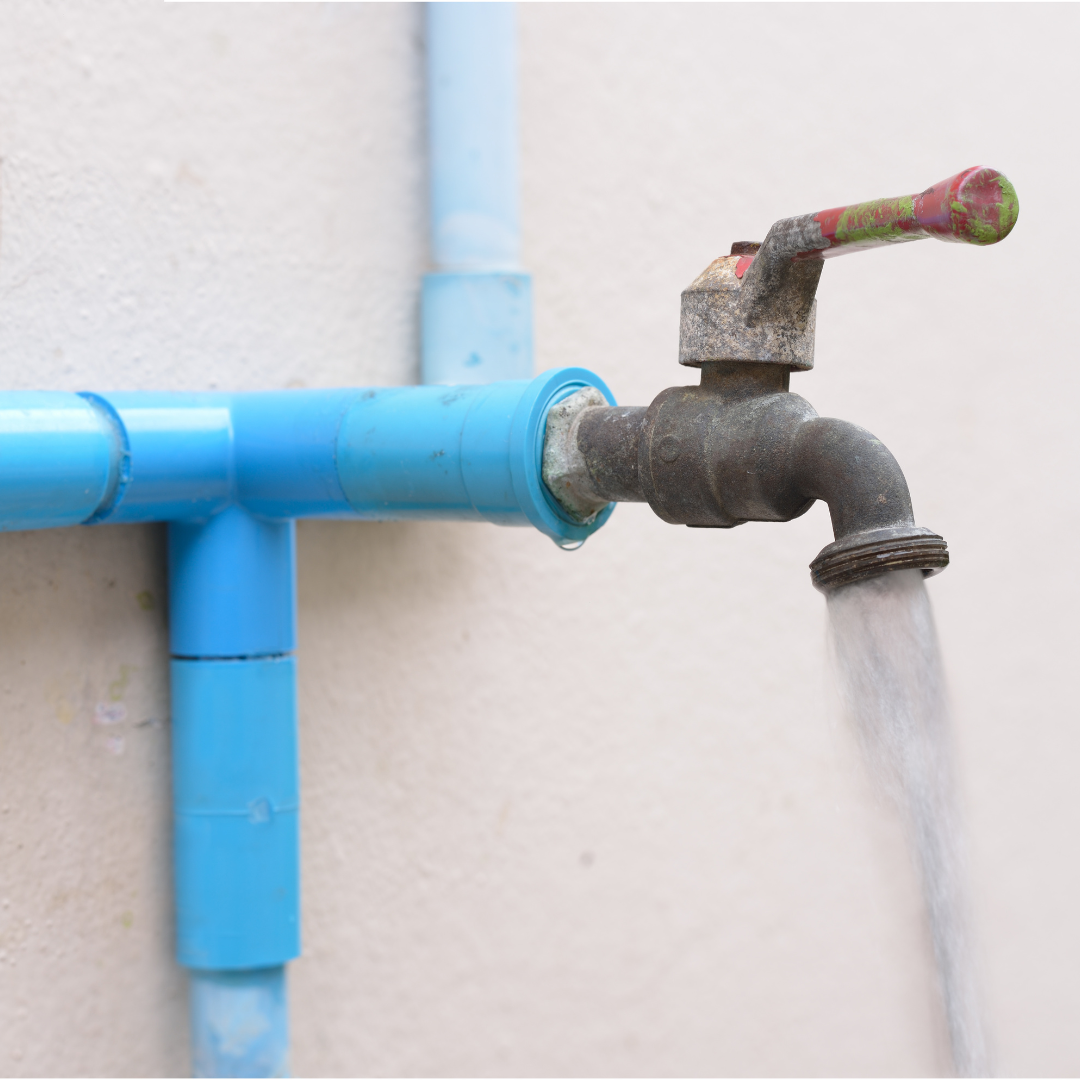
Flow is another concept that children can understand through the simple process of playing with intentionally chosen materials. Understanding water movement, flow, and plumbing is like discovering the secret pathways of a magical adventure. Imagine water as a friendly explorer, flowing through pipes and plumbing systems to reach our homes. Learning about this journey helps kids appreciate the importance of water and how it’s delivered to our taps and faucets. Pipes are like the invisible superheroes carrying water through neighborhoods and into houses. They act as guides, ensuring water reaches every corner where it’s needed. Exploring this concept teaches kids how important it is to take care of these pipes, just like we take care of our roads, to keep the water flowing smoothly. Understanding plumbing isn’t just about fixing leaks or unclogging drains; it’s about appreciating the intricate system that brings water to us. Teaching kids about this process helps them become water heroes, knowing how to use water wisely and how small actions, like turning off taps, can make a big difference in conserving this precious resource for everyone. Learning about water movement and plumbing empowers kids to be mindful stewards of our planet's water. |
|
Pressure + Velocity
Velocity: Explain it as the speed of water moving through the pipes. Use simple comparisons (like fast and slow) to illustrate the concept. Pressure: Describe it as the force that pushes the water through the pipes. You can use hands-on demonstrations with different pipe widths or obstructions to illustrate this. Picture water as an energetic friend who loves to move fast and playfully. When water travels through pipes, it experiences something called "pressure." Just like how a balloon gets squished when you press it, water feels a push from all sides in the pipes. This pressure helps water move quickly through narrow pipes and slower through wider ones, just like a race car on different tracks. Velocity, which is how fast something moves in a certain direction, is like the speed of water rushing through these pipes. When you turn on a faucet, you control how much water comes out. The more you open it, the faster the water flows because it has more space to move through. Understanding pressure and velocity in plumbing helps kids see how different factors affect water's movement. It’s like discovering the secret codes that make water behave in certain ways. Learning these concepts not only makes plumbing fascinating but also helps kids appreciate the engineering marvels that bring water to our homes and teaches them how to use water efficiently while having fun exploring the science behind it all. |
The Water Journey
Plumbing is like a big system of roads and pathways that help water get where it needs to go, and it's important to use water wisely so there's enough for everyone! Lets explore the the journey of water:
|
Try This!
- “Where Does the Water Go?” Investigating Pipes and Plumbing
Investigate Further
Provide transparent plastic pipes and connectors, found in a hardware store. Children can build pipe systems, and then pour water and watch it flow down through their system into the water table or a bucket. Children are fascinated by making water flow. Provide them with opportunities to understand how flow works and what stops it as they solve problems over and over in different ways at a water table or outdoors. Pipe, connectors and water make a great lesson in physics for young children.
Materials Needed:
Activities:
1. Building Water Pathways:
Assembly: Provide children with different types of pipes and connectors. Encourage them to assemble a pathway or a simple structure using the pipes. Explain how water can flow through these pipes just like it flows through plumbing at home.
Experiment: Let them pour water at one end and observe how it moves through the pathway. Discuss how the water flows differently in straight pipes, bends, or intersections.
2. Observing Water Movement:
Gravity Experiment: Set up a slightly inclined pathway with different types of pipes and let water flow through it. Discuss how gravity helps move the water and how the speed changes on different slopes.
Measuring Flow: Encourage them to measure how much water flows through different parts of the pathway in a specific time. Use measuring cups or containers with volume markings.
3. Understanding Pressure and Velocity:
Obstruction Experiment: Introduce an obstruction (like partially covering the end of a pipe) to show how it affects water flow. Discuss how it increases pressure before the obstruction and how it changes velocity after the obstruction is removed.
Exploration: Try different pipe diameters to show how narrower pipes increase pressure and affect water speed compared to wider ones.
4. Playful Learning:
Add Props: Introduce toy boats or objects that can float. Let them observe how the movement of water affects these objects differently based on velocity and pressure.
Labeling: Add stickers or draw markings on pipes to label where water flows fastest or slowest. This visual aid helps in understanding differences in velocity.
Provide transparent plastic pipes and connectors, found in a hardware store. Children can build pipe systems, and then pour water and watch it flow down through their system into the water table or a bucket. Children are fascinated by making water flow. Provide them with opportunities to understand how flow works and what stops it as they solve problems over and over in different ways at a water table or outdoors. Pipe, connectors and water make a great lesson in physics for young children.
Materials Needed:
- Plastic pipes or tubes (clear ones work best to see the water flow)
- Various connectors (elbows, T-joints, straight connectors)
- Buckets or containers
- Water
- Measuring cups or containers with volume markings
- Stickers or markers for labeling
Activities:
1. Building Water Pathways:
Assembly: Provide children with different types of pipes and connectors. Encourage them to assemble a pathway or a simple structure using the pipes. Explain how water can flow through these pipes just like it flows through plumbing at home.
Experiment: Let them pour water at one end and observe how it moves through the pathway. Discuss how the water flows differently in straight pipes, bends, or intersections.
2. Observing Water Movement:
Gravity Experiment: Set up a slightly inclined pathway with different types of pipes and let water flow through it. Discuss how gravity helps move the water and how the speed changes on different slopes.
Measuring Flow: Encourage them to measure how much water flows through different parts of the pathway in a specific time. Use measuring cups or containers with volume markings.
3. Understanding Pressure and Velocity:
Obstruction Experiment: Introduce an obstruction (like partially covering the end of a pipe) to show how it affects water flow. Discuss how it increases pressure before the obstruction and how it changes velocity after the obstruction is removed.
Exploration: Try different pipe diameters to show how narrower pipes increase pressure and affect water speed compared to wider ones.
4. Playful Learning:
Add Props: Introduce toy boats or objects that can float. Let them observe how the movement of water affects these objects differently based on velocity and pressure.
Labeling: Add stickers or draw markings on pipes to label where water flows fastest or slowest. This visual aid helps in understanding differences in velocity.
|
Ask Questions/Discussion
|
Family Connection
- Look at the pips/plumbing in your house. What type of pipes do you have? Can you follow the jorey of the water?
- Ask your parents of a time when something got stuck in a pipe? What did we do to fix it? What was it?
- Discuss as a family why is it important to fix leaks in pipes? Have you ever had a leak in your house? What happended?
- Together design and build a pipe system for a water park, what would it look like?
|
|
|
|
|
|
Learn more...


