Tools + Equipment

Use of Authentic Tools
Using real tools provides real-life experiences that plastic, miniature substitutes could never offer. Although the idea of heavy tools and sharp edges may initially seem like a bad idea that could pose unnecessary dangers, with careful foresight, planning, and supervision, tools can be an amazing addition to the preschool classroom.
Children’s natural tendency is to create – they are inherently creative and artistic beings. Having tools allows children to bring their ideas to life in ways they usually cannot in typical classrooms. The added element of risk and novelty makes this task exciting and alluring for children.
Providing these real experiences might seem novel and trendy, but they have been effective for years. When I had a functioning workbench in my preschool classroom, parents were initially skeptical. However, upon seeing the thoughtful implementation and prioritization of safety, they quickly got on board.
Thoughtful implementation involves a structured process. Before using tools, children need discussions about the names, uses, proper handling, and manipulation of tools. Children should first explore one tool at a time in a group setting, like a “Show & Tell,” where the tool is carefully passed around for examination. This teaches them respect for the tools.
Using real tools instead of plastic ones offers significant developmental benefits for preschoolers. Real tools are more interesting to children, providing them with a sense of purpose and responsibility. Trusting young children with tools builds their self-confidence, develops motor skills, supports concentration, and enhances their understanding of the world. Learning becomes more relevant, and children thrive as they become real constructors and engineers. Viewing children as capable and competent learners changes our perception of their abilities and, more importantly, changes their self-perception.
Real tools also work better and are usually of higher quality, making tasks easier to complete. For example, giving a four-year-old a low melt glue gun allows them to build intricate structures and amazing creations that other glues cannot achieve. This demonstrates the child's capabilities and potential.
Safety is paramount when children use real tools, and close supervision is essential. Discussing safety aspects with children helps set clear expectations and boundaries, teaching them responsibility and showing them respect. Respecting children as innovative, creative problem solvers means providing them with the right materials to bring their ideas and designs to fruition.
Here are some compelling reasons why real tools are preferable in a controlled and supervised setting:
Skill Development
Real-World Learning
Problem-Solving and Critical Thinking
Confidence and Independence
Sensory Experience
Using real tools provides real-life experiences that plastic, miniature substitutes could never offer. Although the idea of heavy tools and sharp edges may initially seem like a bad idea that could pose unnecessary dangers, with careful foresight, planning, and supervision, tools can be an amazing addition to the preschool classroom.
Children’s natural tendency is to create – they are inherently creative and artistic beings. Having tools allows children to bring their ideas to life in ways they usually cannot in typical classrooms. The added element of risk and novelty makes this task exciting and alluring for children.
Providing these real experiences might seem novel and trendy, but they have been effective for years. When I had a functioning workbench in my preschool classroom, parents were initially skeptical. However, upon seeing the thoughtful implementation and prioritization of safety, they quickly got on board.
Thoughtful implementation involves a structured process. Before using tools, children need discussions about the names, uses, proper handling, and manipulation of tools. Children should first explore one tool at a time in a group setting, like a “Show & Tell,” where the tool is carefully passed around for examination. This teaches them respect for the tools.
Using real tools instead of plastic ones offers significant developmental benefits for preschoolers. Real tools are more interesting to children, providing them with a sense of purpose and responsibility. Trusting young children with tools builds their self-confidence, develops motor skills, supports concentration, and enhances their understanding of the world. Learning becomes more relevant, and children thrive as they become real constructors and engineers. Viewing children as capable and competent learners changes our perception of their abilities and, more importantly, changes their self-perception.
Real tools also work better and are usually of higher quality, making tasks easier to complete. For example, giving a four-year-old a low melt glue gun allows them to build intricate structures and amazing creations that other glues cannot achieve. This demonstrates the child's capabilities and potential.
Safety is paramount when children use real tools, and close supervision is essential. Discussing safety aspects with children helps set clear expectations and boundaries, teaching them responsibility and showing them respect. Respecting children as innovative, creative problem solvers means providing them with the right materials to bring their ideas and designs to fruition.
Here are some compelling reasons why real tools are preferable in a controlled and supervised setting:
Skill Development
- Fine Motor Skills: Real tools require precision and control, helping children develop fine motor skills more effectively than plastic tools.
- Hand-Eye Coordination: Using real tools enhances hand-eye coordination as children learn to align and manipulate tools accurately.
Real-World Learning
- Authenticity: Real tools provide a more accurate experience, helping children understand their actual uses and functions. This builds a more realistic understanding of construction and engineering.
- Responsibility: Handling real tools teaches children the importance of responsibility and care, fostering a sense of accountability.
Problem-Solving and Critical Thinking
- Challenge and Engagement: Real tools present more challenging tasks that stimulate problem-solving and critical thinking skills. Children need to figure out how to use each tool effectively, which promotes cognitive development.
- Cause and Effect: Children can better understand cause and effect by seeing the direct impact of their actions, such as driving a nail into wood with a hammer.
Confidence and Independence
- Empowerment: Successfully using real tools can boost a child’s confidence and sense of achievement. It empowers them to take on more complex tasks independently.
- Risk Management: Learning to handle real tools helps children assess and manage risks, an important life skill.
Sensory Experience
- Tactile Feedback: Real tools provide tactile feedback that plastic tools cannot. The weight, texture, and material of real tools offer a richer sensory experience.
- Sound and Resistance: The sounds and resistance encountered when using real tools (like the sound of a hammer hitting a nail or the resistance of a saw cutting wood) contribute to a deeper sensory understanding.
Safety Considerations
While the benefits of using real tools are substantial, ensuring safety is paramount:
While the benefits of using real tools are substantial, ensuring safety is paramount:
- Supervision: Always supervise children closely when they are using real tools to prevent accidents.
- Age-Appropriate Tools: Choose tools that are appropriate for the child’s age and development level. Start with basic tools like small hammers, screwdrivers, and wrenches.
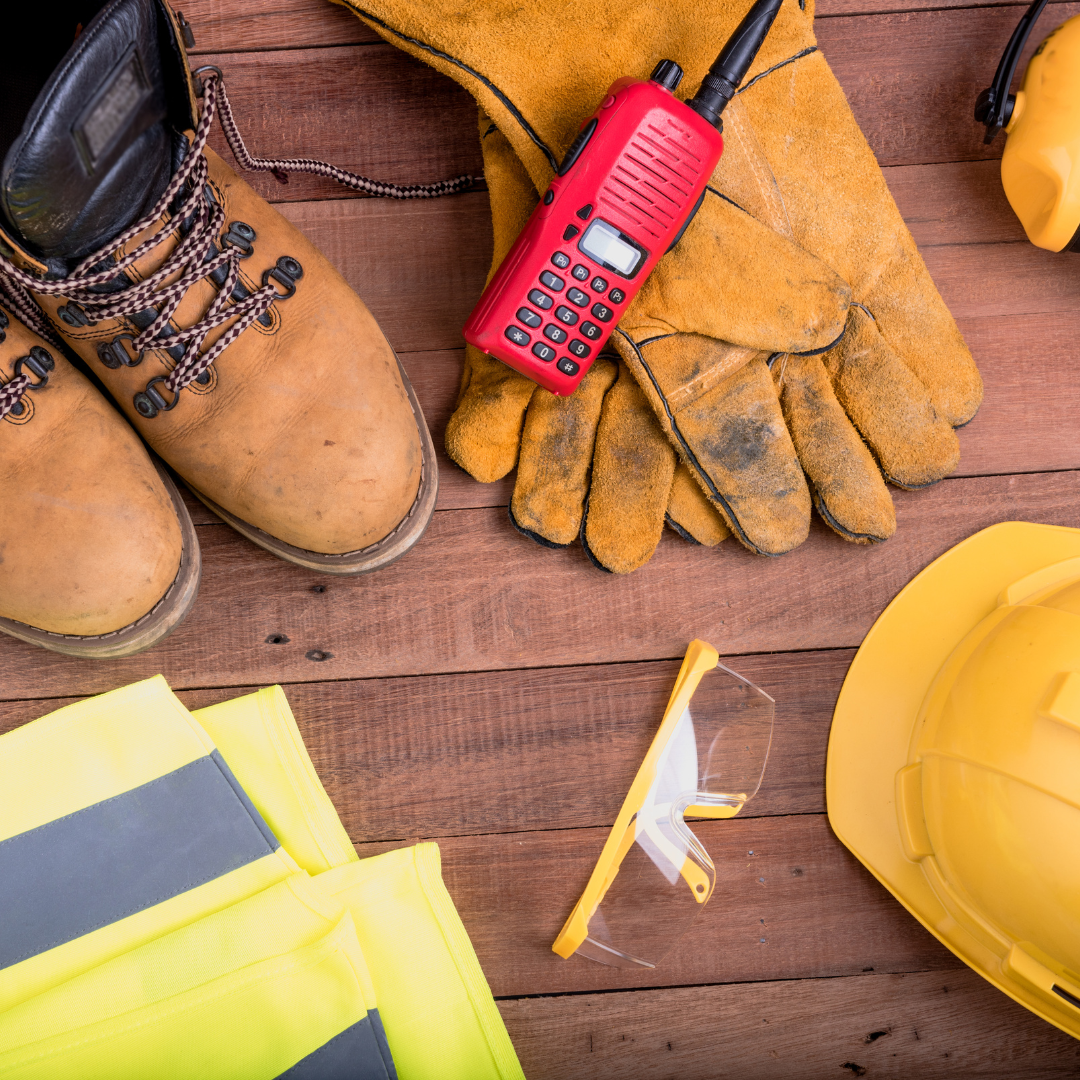
- Safety Gear: Equip children with proper safety gear such as gloves, goggles, and ear protection if necessary.
- Instruction: Provide clear instructions and demonstrations on how to use each tool safely and correctly.
- Controlled Environment: Set up a safe, controlled environment for tool use, away from hazards and distractions.
- Sharp Edges: Sand down or tape over sharp edges on tools, screws, nails, and any other materials that could cause injury. This includes covering the tips of nails and screws or sanding down rough edges on wood.
- Safe Storage: Ensure all tools are stored safely when not in use, out of the reach of children.
Introduction to Common Tools
Introducing preschoolers to common construction tools can be a great way to spark their interest and curiosity. Here's how you might go about it:
Introducing preschoolers to common construction tools can be a great way to spark their interest and curiosity. Here's how you might go about it:
|
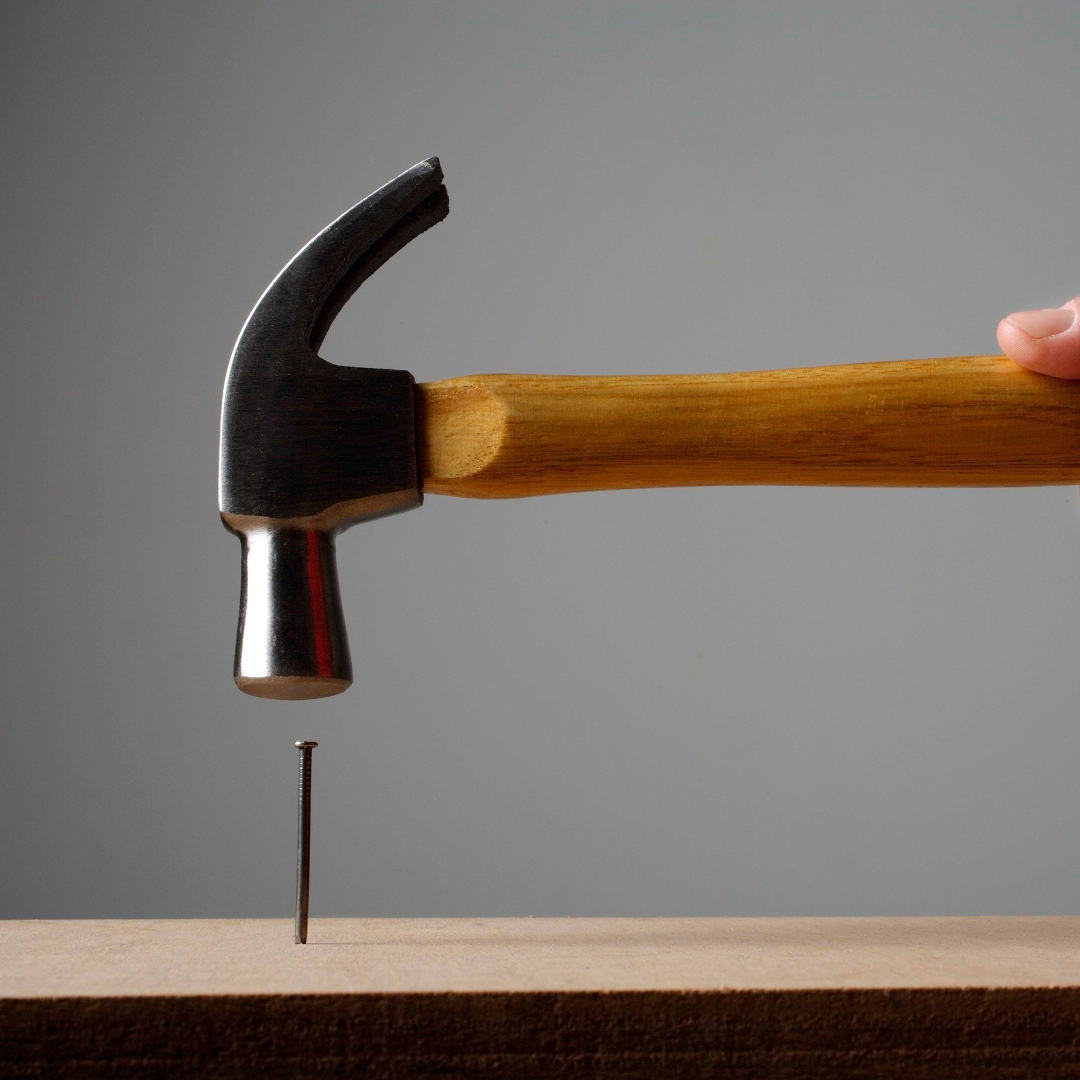
Hammer
Start by showing them a hammer and explaining its purpose - to drive nails into wood or other materials. Demonstrate how to hold the hammer properly, how to swing it gently, and how to use it to tap a nail into a piece of wood. Activities:
|
Types of Hammers
- Claw Hammer: A versatile hammer with a flat striking surface on one side and a claw for pulling nails on the other. Used for driving nails into various materials such as wood and for removing nails with the claw end.
- Ball-Peen Hammer:A hammer with one flat striking surface and one rounded, ball-shaped striking surface. Commonly used in metalworking for shaping and bending metal, as well as for driving small nails and punches.
- Sledgehammer:A large, heavy hammer with a long handle, typically weighing between 8 and 16 pounds. Used for heavy-duty tasks such as demolition, driving stakes, and breaking up concrete or rock.
- Rubber Mallet:A hammer with a rubber or plastic head, typically mounted on a wooden or fiberglass handle.
- Uses: Used for tasks that require a softer impact to avoid damaging delicate surfaces, such as installing flooring or assembling furniture.
- Dead Blow Hammer:A hammer with a hollow head filled with sand or shot, designed to minimize rebound and deliver a more controlled impact. Commonly used in automotive and machinery work for precision striking without damaging the workpiece.
|
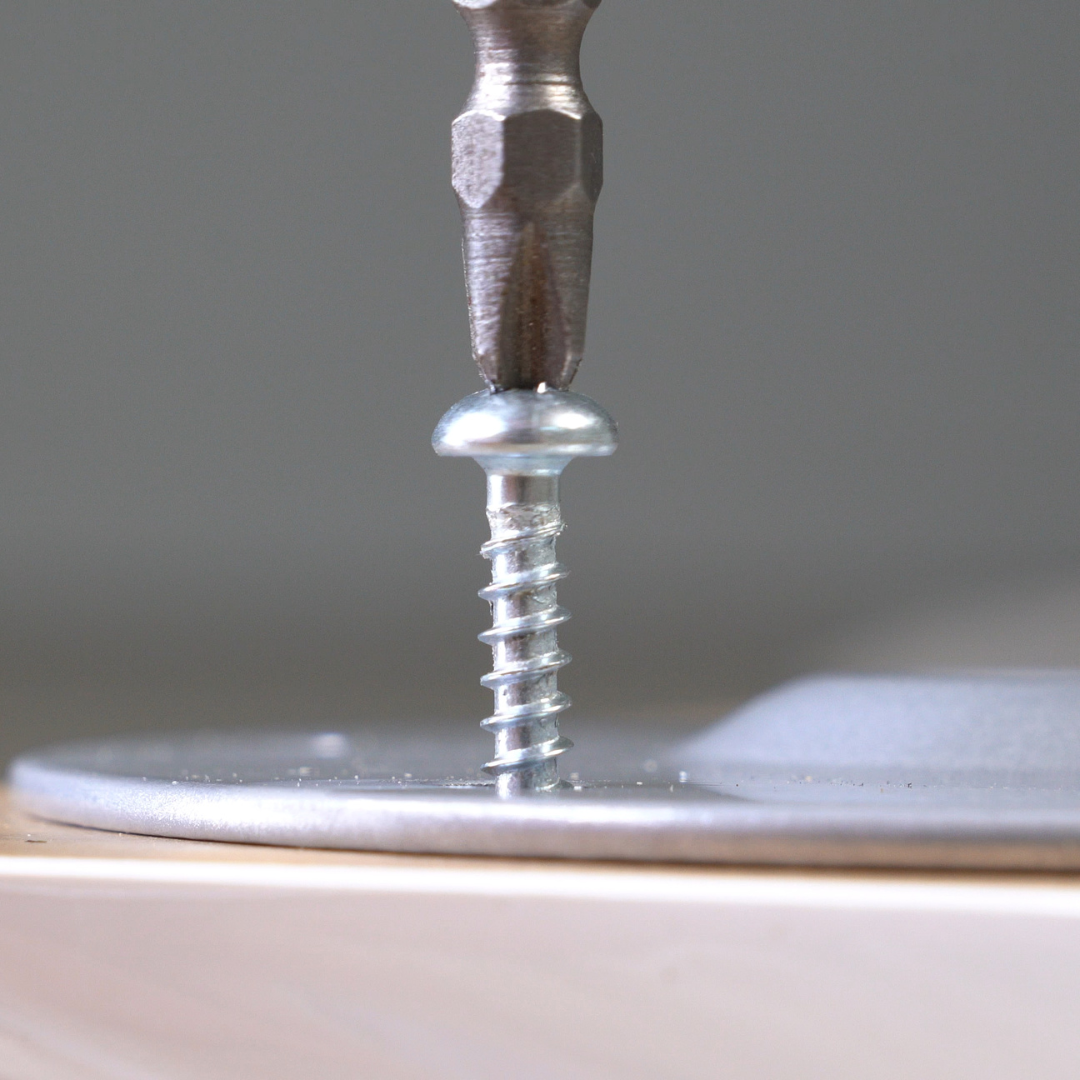
Screwdriver
Show them a screwdriver and explain that it's used for turning screws.Demonstrate how to use a screwdriver to tighten or loosen a screw in a piece of wood or a toy. Activities:
|
Types of Screws + Screwdrivers
Types of Screws:
Types of Screwdrivers:
Types of Screws:
- Wood Screws:Have coarse threads and a sharp point, designed for use in wood materials. Used for fastening wood components together in construction, carpentry, and woodworking projects.
- Machine Screws: Have finer threads and are designed to be used with nuts or threaded holes. Commonly used in machinery, appliances, and electronic devices for fastening metal parts together.
- Sheet Metal Screws:Have sharp threads and are self-tapping, designed for use in thin metal sheets. Used for fastening metal sheets, ductwork, and automotive components together.
Types of Screwdrivers:
- Flathead Screwdriver: Has a flat, single-bladed tip that fits into the slot of a flathead screw. Used for driving flathead screws commonly found in furniture assembly and household fixtures.
- Phillips Screwdriver: Has a cross-shaped tip that fits into the recess of a Phillips head screw. Used for driving Phillips head screws, which are commonly used in construction, electronics, and automotive applications.
- Hex (Allen) Wrench:Has a hexagonal-shaped tip that fits into the recess of a hexagonal screw or bolt. Used for driving hexagonal screws or bolts commonly found in furniture assembly, bicycle components, and machinery.
|
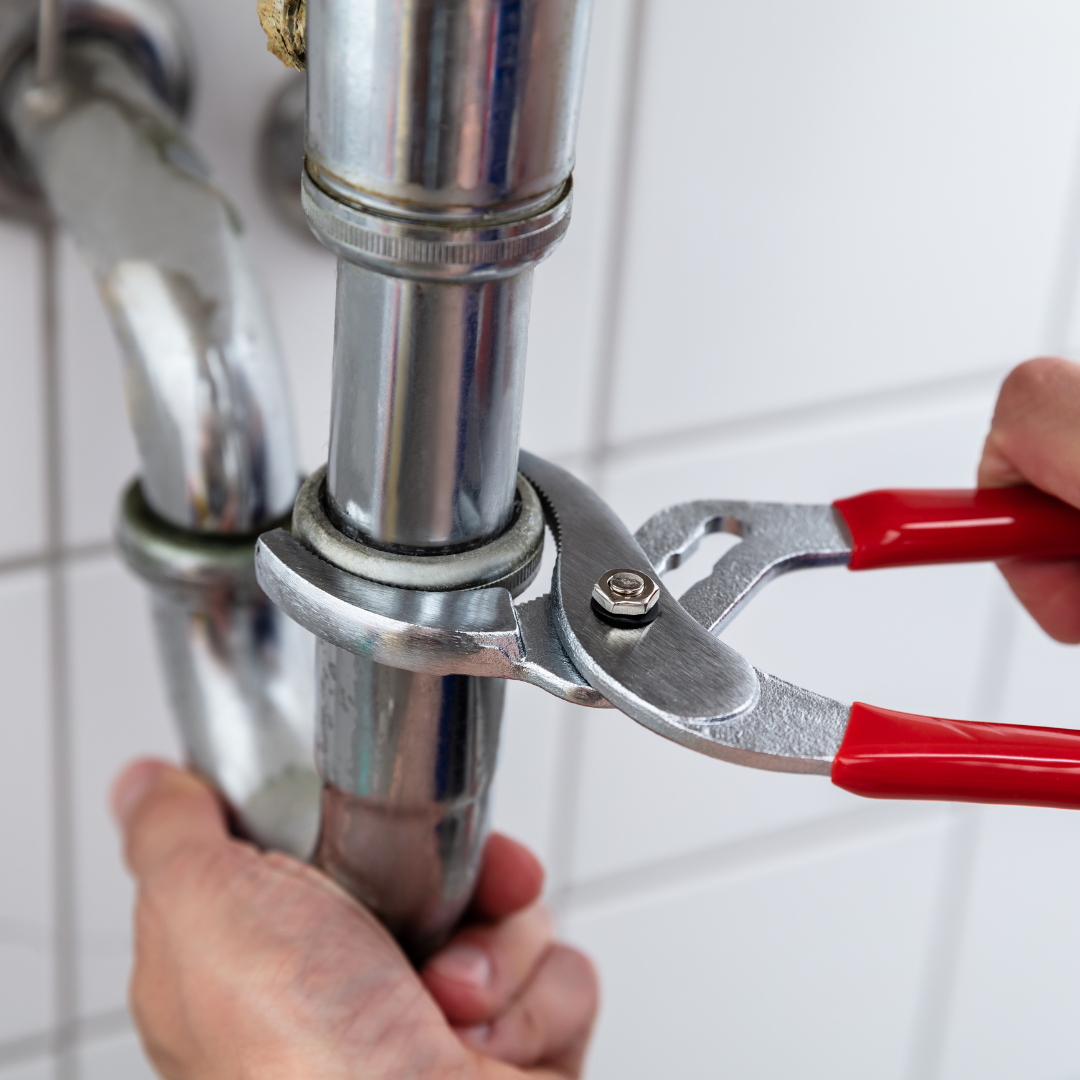
Wrench
Introduce the wrench and explain that it's used for tightening or loosening nuts and bolts.Demonstrate how to use a wrench to turn a nut or bolt, using a child-safe tool and a large toy nut and bolt for demonstration. Actvities:
|
Types of Wrenches
- Adjustable Wrench: An adjustable wrench has a movable jaw that can be adjusted to fit different sizes of nuts and bolts. Used for tightening or loosening nuts and bolts of various sizes, commonly found in plumbing and general construction tasks.
- Combination Wrench: A combination wrench has an open-end wrench on one side and a box-end wrench on the other, providing versatility for different types of fasteners. Ideal for use in tight spaces where a socket wrench may not fit, commonly used in automotive and mechanical work.
- Socket Wrench: A socket wrench has a ratcheting mechanism and interchangeable socket attachments for different sizes of nuts and bolts. Provides efficient and precise tightening or loosening of fasteners, commonly used in assembly, automotive repair, and construction.
- Pipe Wrench: A pipe wrench has serrated jaws for gripping and turning pipes and fittings. Primarily used in plumbing work for tightening or loosening threaded pipes and fittings.
- Adjustable Spanner (Monkey Wrench): An adjustable spanner has a movable jaw similar to an adjustable wrench but with wider jaws and a longer handle. Used for gripping and turning large-sized nuts, bolts, and pipes in plumbing, mechanical, and construction work.
|
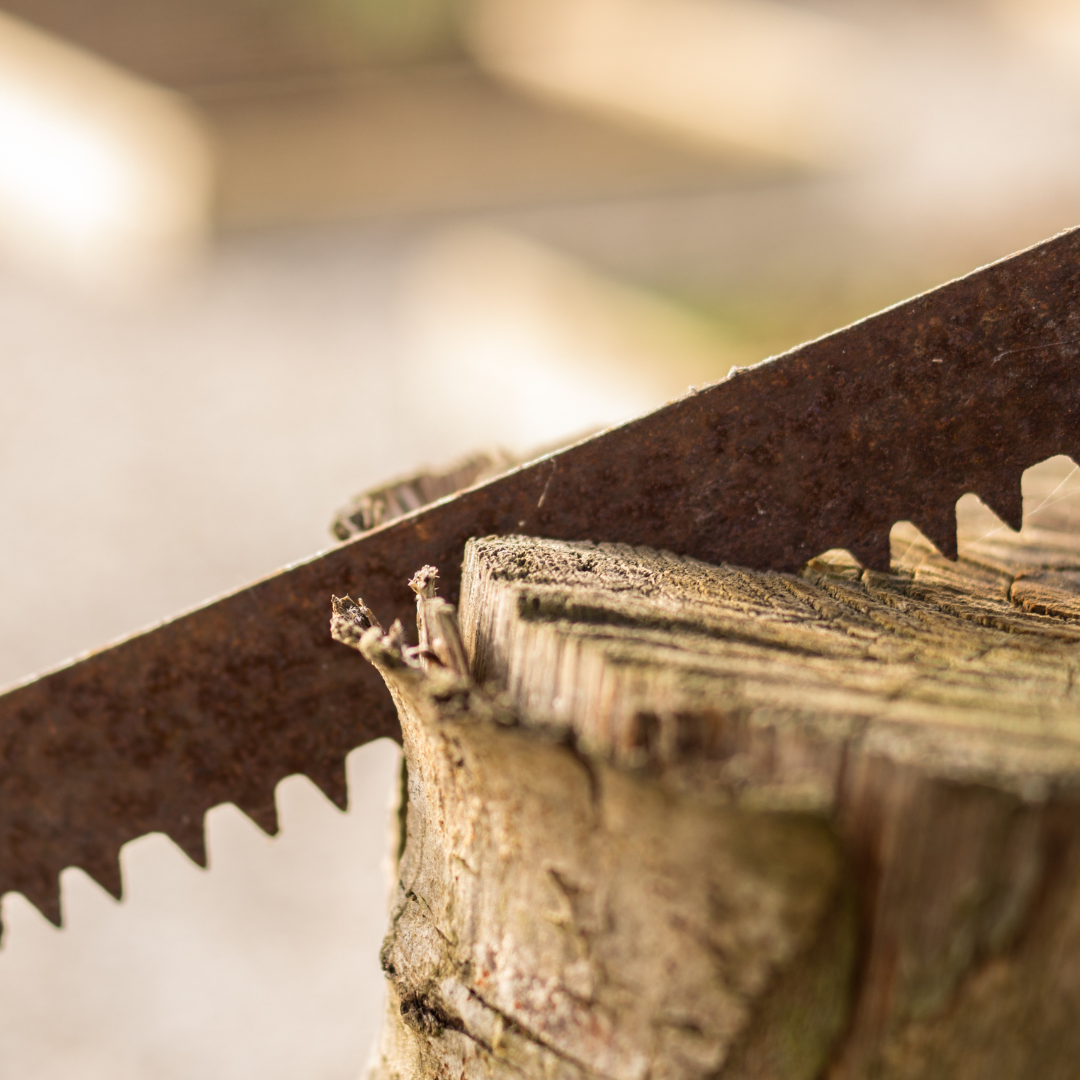
Saw
Show them a small, saw and explain that it's used for cutting wood. Demonstrate how to hold the saw properly and how to move it back and forth to cut through a piece of soft material like cardboard or foam. Activities:
|
Types of Saws
- Hand Saw: Hand saws have a straight blade with teeth along one edge and a handle for gripping. They are operated by hand and used for cutting wood and other materials. Hand saws are versatile tools for cutting wood in various construction and DIY projects, such as framing, woodworking, and general carpentry.
- Circular Saw:Circular saws have a round blade with sharp teeth and are powered by electricity or battery. They are handheld and used for making straight cuts in wood and other materials. Circular saws are commonly used in construction and building for cutting large sheets of plywood, boards, and other materials to size.
- Jigsaw: Jigsaws have a narrow, reciprocating blade that moves up and down rapidly. They are handheld and used for making curved or intricate cuts in wood and other materials. Jigsaws are ideal for cutting curves, notches, and irregular shapes in woodworking and construction projects, such as cutting holes for sinks or electrical outlets.
- Miter Saw:Miter saws have a circular blade mounted on a swing arm that pivots to make angled cuts. They are stationary tools typically used on a workbench or stand. Miter saws are designed for making precise angled cuts in wood and other materials, commonly used for framing, trim work, and molding.
|
Tape Measure
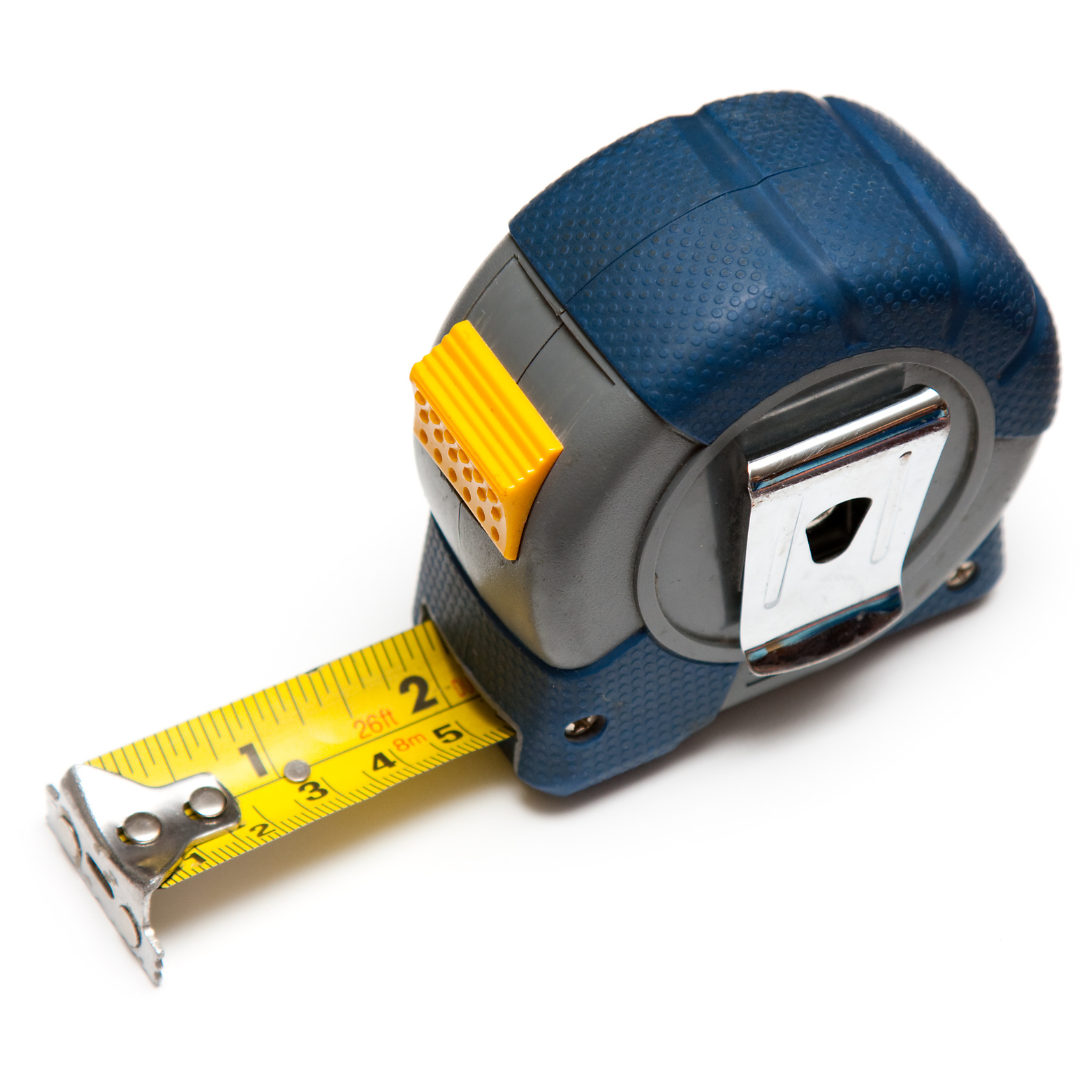
Introduce the tape measure and explain that it's used for measuring lengths. Demonstrate how to extend the tape measure along a surface and read the measurements marked on it. Activities:
|
Types of Tape Measures
Retractable Tape Measure:
A flexible tape encased in a retractable housing, typically made of plastic or metal. The tape can be pulled out and locked in place for measuring, then retracted back into the housing. Used for measuring length, width, and height in construction, crafting, and various DIY projects. Typically available in lengths ranging from a few feet to several meters.
Cloth Tape Measure:
A flexible tape made of cloth or fabric, typically with measurements marked in inches or centimeters. The tape is flexible and can be easily manipulated for measuring. Commonly used in sewing, tailoring, and fabric crafts for measuring body measurements, fabric lengths, and other sewing-related tasks.
|
Level
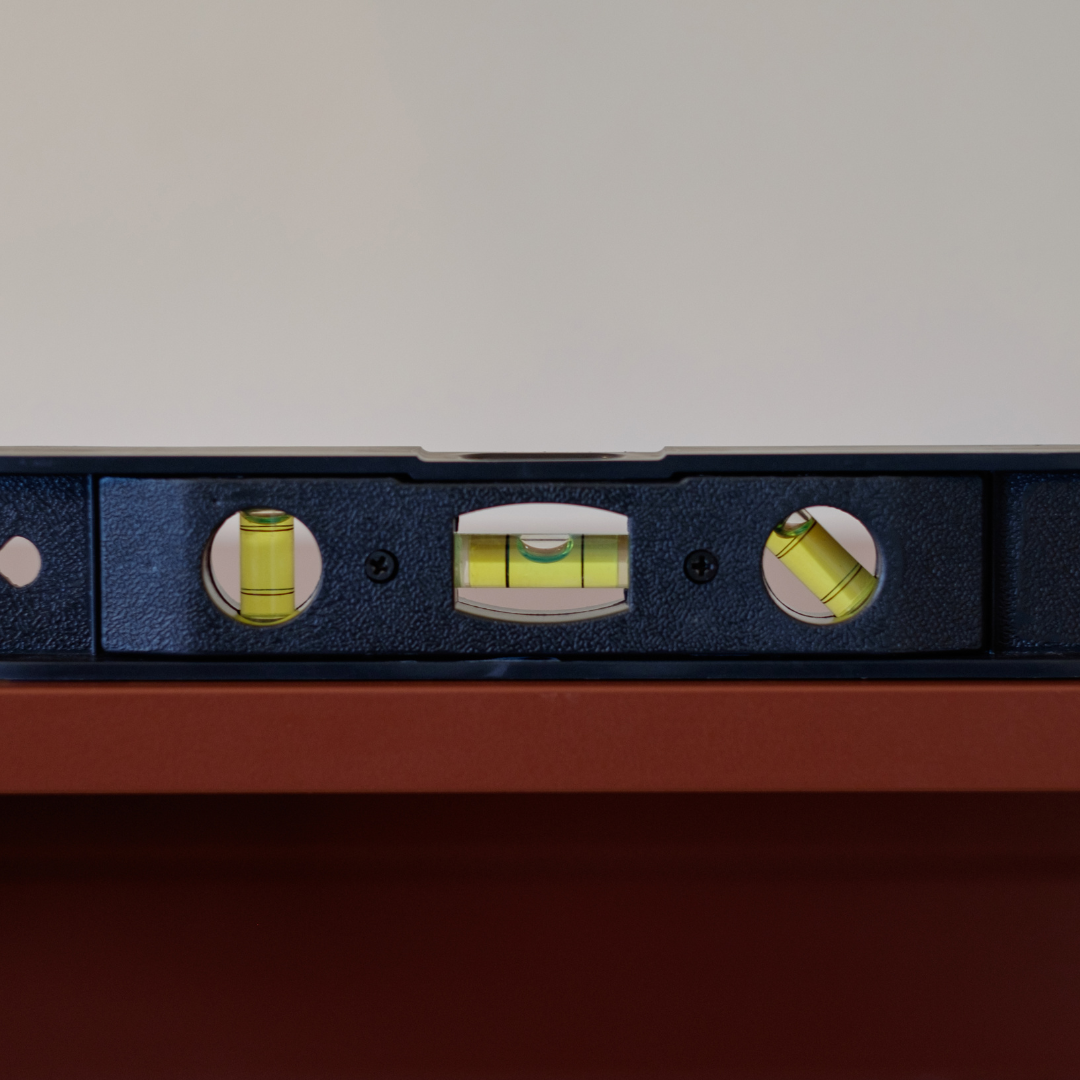
Explain that a level is used to ensure surfaces are flat and straight. Show how a level's bubble indicates whether a surface is level, by placing it on different objects and observing how the bubble moves. Activities:
|
Types of Levels
Spirit Level (Bubble Level):
A spirit level consists of a straight, rigid body with a glass vial containing a bubble of air and liquid (usually alcohol). The bubble moves to indicate whether a surface is horizontal (level) or vertical (plumb).
Uses in Construction: Used for checking the levelness of horizontal surfaces (e.g., floors, countertops) and vertical surfaces (e.g., walls, door frames) during construction and installation.
Torpedo Level:
A small, compact level typically with one or more vials, designed for fitting into tight spaces or corners.
Uses in Construction: Ideal for smaller-scale leveling tasks, such as checking the alignment of pipes, conduits, and framing members.
Line Level:
A small, lightweight level designed to be attached to a string or line, with a vial for indicating levelness.
Uses in Construction: Used in conjunction with a string or line to establish a level reference point over a long distance, such as for laying out foundations, landscaping, or fence installation.
Digital Level:
A level equipped with digital technology for precise measurement and digital readout of angles and inclinations.
Uses in Construction: Provides accurate measurements of slopes, angles, and inclinations for various construction tasks, including framing, roofing, and stair installation.
Laser Level:
A level that emits a laser beam to create a straight, level reference line or plane across a surface.
Uses in Construction: Used for precise leveling and alignment tasks over long distances, such as installing tiles, cabinets, and drop ceilings.
|
Pliers
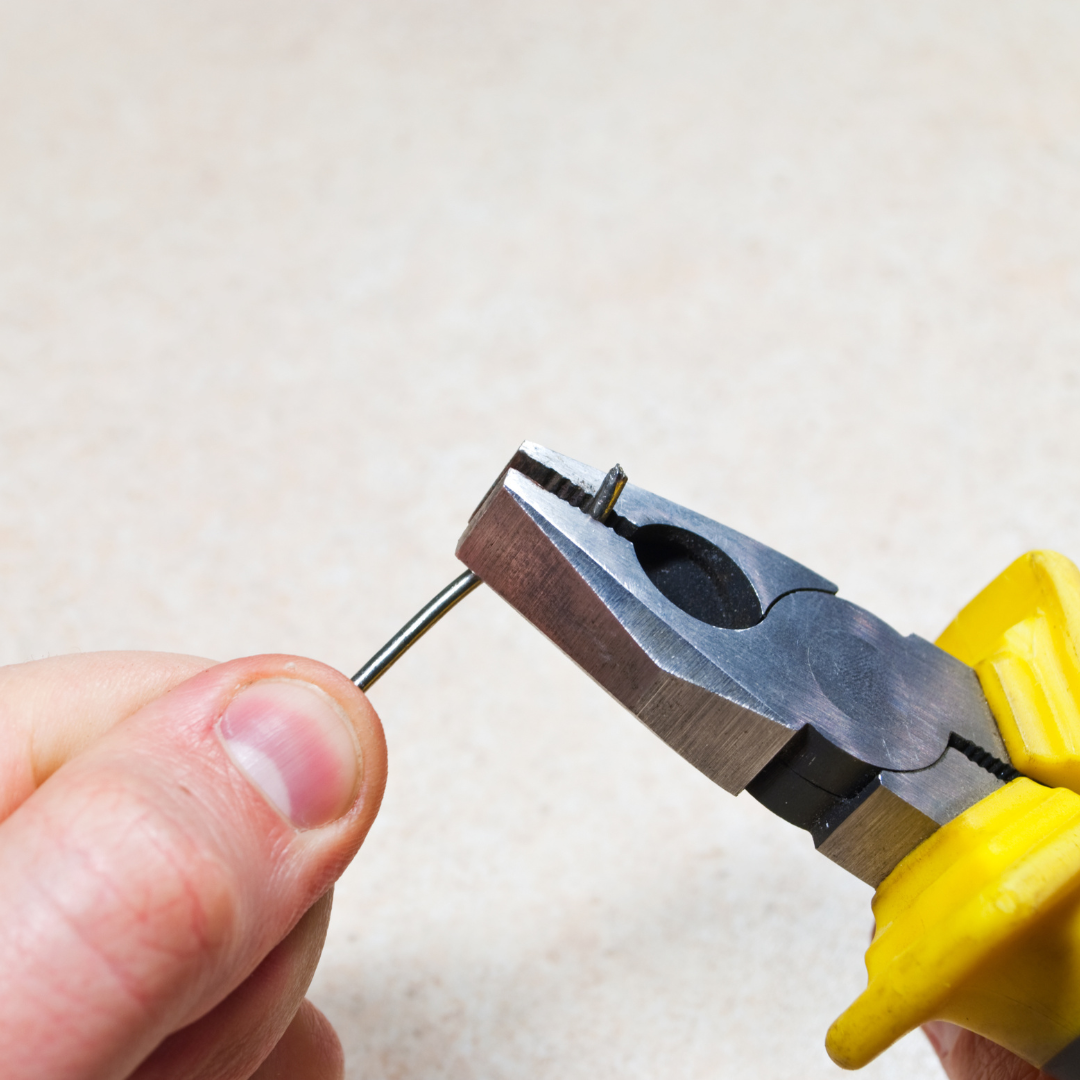
Introduce pliers as tools used for gripping, bending, and cutting. Show how to use pliers to grip objects and bend wire by squeezing the handles. Also, demonstrate how to use them to cut soft wire. Activities:
|
Types of Pliers
In construction, pliers are versatile tools used for gripping, bending, cutting, and twisting various materials. There are several types of pliers, each designed for specific tasks. Here are some common types of pliers used in construction and their typical uses:
Combination Pliers
Combination pliers, also known as lineman's pliers or combination cutting pliers, have a flat gripping surface and a cutting edge near the pivot point.
Uses: They are used for gripping and twisting wires, bending metal, and cutting through soft wires and small nails.
Needle-Nose Pliers
Needle-nose pliers have long, slender jaws with pointed tips that taper to a fine point.
Uses: They are ideal for reaching into tight spaces, holding small objects, bending wires, and gripping components in delicate or hard-to-reach areas.
Slip-Joint Pliers
Slip-joint pliers have adjustable jaws that can be set to different widths using a sliding pivot point.
Uses: They are versatile tools used for gripping and holding objects of various sizes, as well as for bending and twisting wires.
Locking Pliers (Vise-Grip Pliers)
Locking pliers, also known as vise-grip pliers, have adjustable jaws that can be locked into position using a built-in mechanism.
Uses: They are used for clamping, holding, and tightening objects securely in place, making them ideal for tasks that require a strong grip or holding materials during welding or soldering.
Bent-Nose Pliers
Bent-nose pliers have jaws that are angled or bent at the tips, providing better access to tight spaces.
Uses: They are used for gripping, bending, and manipulating wires and components in confined or hard-to-reach areas, such as electrical installations or plumbing repairs.
Cutting Pliers (Side-Cutting Pliers)
Cutting pliers, also known as side-cutting pliers or diagonal pliers, have cutting edges that are angled to one side.
Uses: They are primarily used for cutting through wires, nails, bolts, and other materials, making them essential for electrical work, metalworking, and general construction tasks.
Crimping Pliers
Crimping pliers have jaws with ridges or indentations that are used to crimp or compress connectors onto wires or cables.
Uses: They are commonly used in electrical and telecommunications installations to create secure connections between wires and terminals.
Fencing Pliers
Fencing pliers are specialized pliers designed for tasks related to fencing and wire installation.
Uses: They typically feature a combination of gripping, cutting, and crimping functions, making them suitable for tasks such as cutting wire, removing staples, and splicing fencing materials.
Uses in Construction:
- Electrical Work: Pliers are used for bending and shaping wires, twisting wire ends together, and cutting wires to length during electrical installations and repairs.
- Carpentry: Pliers are used for gripping and pulling nails, holding small components in place, and bending metal brackets or fasteners during woodworking projects.
- Plumbing: Pliers are used for gripping and tightening pipe fittings, bending copper tubing, and cutting plastic or metal pipes to size during plumbing installations and repairs.
- Metalworking: Pliers are used for bending, shaping, and cutting metal components, as well as for holding small parts securely during welding, soldering, or fabrication tasks.
- General Construction: Pliers are versatile tools that find application in various construction tasks, such as gripping, twisting, cutting, and securing materials in place.
|
Drill (with supervision and appropriate safety measures)
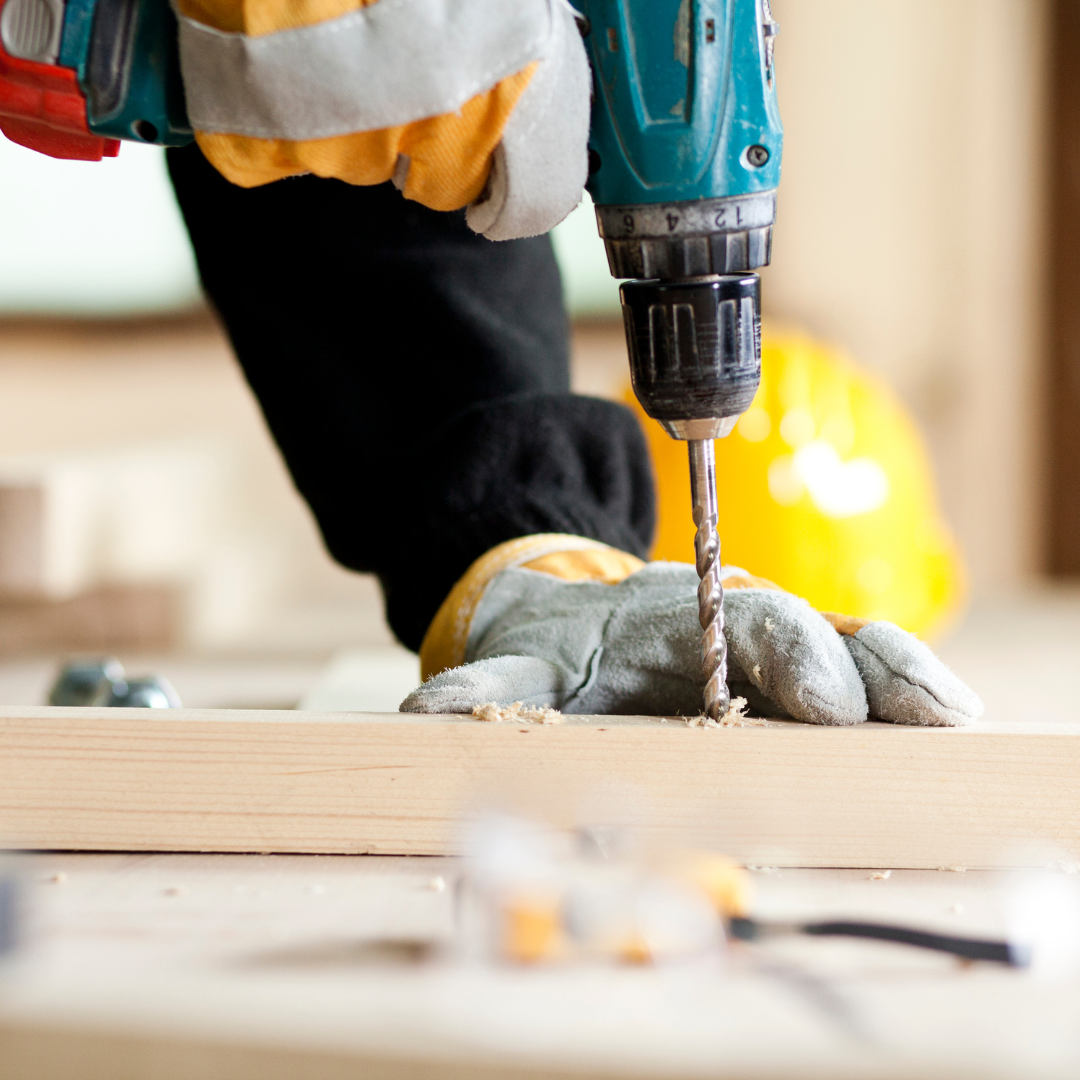
Explain that a drill is used to create holes in materials. Show how to hold and operate the drill safely, including how to attach drill bits and how to drill holes in materials like wood or cardboard. Activities:
|
Types of Drills + Bits
Drills
These are just a few examples of the many types of drill bits available, each designed for specific drilling tasks and materials. Choosing the right drill bit for a project depends on factors such as the material being drilled, the desired hole size and depth, and the type of drill being used.
Drills
- Cordless Drill: A portable drill powered by rechargeable batteries, allowing for greater mobility and versatility. Used for drilling holes and driving screws in various materials such as wood, plastic, and metal. Commonly used for assembly, installation, and general construction tasks.
- Corded Drill: A drill powered by electricity through a cord connected to a power outlet, providing consistent power output. Similar to cordless drills, used for drilling holes and driving screws, with the advantage of continuous power supply for extended use.
- Impact Driver:A drill specifically designed for driving screws and fasteners with high torque and rotational force. Ideal for driving screws into tough materials like hardwood or concrete, providing greater efficiency and control compared to standard drills.
- Hammer Drill: A drill with a hammering function, allowing it to drill into hard materials like concrete or masonry by applying rapid impacts. Used for drilling holes in tough materials where standard drills may struggle, such as for installing anchors or fasteners in concrete walls.
- Twist Drill Bit: Twist drill bits have a spiral-shaped cutting edge that allows them to drill holes into various materials. Used for drilling holes in wood, metal, plastic, and other materials. They come in various sizes and are versatile for general-purpose drilling tasks.
- Spade Drill Bit: Spade drill bits have a flat, paddle-shaped head with a sharp point and two cutting edges. Primarily used for drilling large diameter holes in wood, such as for plumbing or electrical installations. They are efficient for fast drilling but may cause splintering in wood.
- Auger Drill Bit: Auger drill bits have a screw-like design with a threaded center point and cutting edges on the sides. Ideal for drilling deep, clean holes in wood, particularly for large-diameter holes. Commonly used in woodworking and carpentry projects.
- Forstner Drill Bit: Forstner drill bits have a cylindrical shape with a flat bottom and sharp cutting edges around the perimeter. Used for drilling flat-bottomed holes with clean edges, ideal for woodworking projects like cabinetry, furniture making, and joinery.
- Hole Saw Drill Bit: Hole saw drill bits consist of a cylindrical saw blade with teeth around the edge and a pilot drill bit in the center. Designed for cutting large diameter holes in wood, plastic, metal, and other materials. Commonly used for plumbing, electrical, and carpentry applications.
- Masonry Drill Bit: Masonry drill bits have a carbide tip for drilling into hard materials like concrete, brick, stone, and masonry. Used with a hammer drill or rotary hammer to create holes in concrete walls, floors, and surfaces for anchoring, fastening, or installation purposes.
- Tile Drill Bit (Tile Hole Saw): Tile drill bits have a carbide tip and a hollow cylindrical design for drilling through ceramic tiles, porcelain, and glass. Specifically designed for drilling holes in tiles for plumbing, electrical, and installation purposes without cracking or damaging the tile surface.
- Countersink Drill Bit: Countersink drill bits have a tapered end with a conical shape and a flat-bottomed center. Used to create a recessed area (countersink) around a drilled hole, allowing screws to sit flush with the surface when installed, commonly used in woodworking and metalworking projects.
These are just a few examples of the many types of drill bits available, each designed for specific drilling tasks and materials. Choosing the right drill bit for a project depends on factors such as the material being drilled, the desired hole size and depth, and the type of drill being used.
|
Paintbrush
Introduce a paintbrush as a tool used to apply paint or stain. Show how to dip the paintbrush in paint and apply it to paper or canvas using different strokes like lines, dots, or swirls. Activities
|
Types of Paintbrushes + Painting Tools
- Flat Brushes: These have a flat, rectangular-shaped bristle arrangement and are versatile for covering large areas and making broad strokes.
- Round Brushes: With a rounded tip and full belly, round brushes are suitable for detailing, outlining, and creating precise lines.
- Filbert Brushes: Filbert brushes have a flat, oval-shaped tip that combines the characteristics of flat and round brushes, making them versatile for blending and creating soft edges.
- Angle Brushes: Angle brushes have angled bristles, making them ideal for painting corners, edges, and creating precise lines with control.
- Fan Brushes: Fan brushes have spread-out bristles shaped like a fan, suitable for blending, feathering, and creating texture effects.
- Paint Rollers: Rollers have a cylindrical shape with a handle and a roller sleeve for applying paint to large surfaces quickly and evenly. They are commonly used for painting walls, ceilings, and other flat surfaces in construction.
- Spray Painters: Spray painters use compressed air to atomize paint and apply it evenly onto surfaces. They are used for painting furniture, small objects, and intricate details with precision.
|
Safety Gear
Alongside tools, introduce safety gear like safety goggles, hard hats, vests, cones, and gloves. Emphasize their importance in protecting workers from potential hazards on a construction site. Activities
|
Types of Safety Gear
Different types of safety gear are essential for ensuring the well-being of construction workers and minimizing the risk of accidents and injuries on job sites.
Different types of safety gear are essential for ensuring the well-being of construction workers and minimizing the risk of accidents and injuries on job sites.
- Hard Hat: Protects the head from falling objects, impacts, and electrical hazards.
- Safety Goggles: Shields the eyes from dust, debris, chemicals, and other hazards.
- Safety Vest: Increases visibility on the job site, reducing the risk of accidents involving vehicles and heavy machinery.
- Steel-Toe Boots: Provides protection for the feet from falling objects, punctures, and electrical hazards.
- Ear Protection: Includes earplugs or earmuffs to reduce exposure to loud noises, preventing hearing damage.
- Gloves: Protects hands from cuts, abrasions, burns, and exposure to chemicals.
- Respirator: Filters out dust, fumes, and other airborne particles, ensuring safe breathing in environments with poor air quality or hazardous substances.
- Fall Protection Equipment: Includes harnesses, lanyards, and anchor points to prevent falls from heights.
- Knee Pads and Elbow Pads: Offers cushioning and protection against impacts and repetitive strain injuries when kneeling or working on hard surfaces.
- Safety Harness: Used in conjunction with fall protection equipment to secure workers at heights, preventing falls and minimizing injuries.

Tool Time Learning Experiences
Try some of these engaging experiences and activities, preschoolers can develop a basic understanding of construction tools, safety practices, and the exciting world of building and construction.
1. Tool Exploration Station
Setup: Create a tool exploration station with a variety of toy tools and safety gear (like hard hats and safety goggles).
Activity: Allow children to freely explore the tools, picking them up, examining them, and trying to identify each one.
Learning Outcome: This hands-on experience helps children become familiar with different tools and their basic functions.
2. Tool Sorting Game
Setup: Provide a mix of toy tools and safety gear items and several labeled bins or containers.
Activity: Ask children to sort the tools and safety gear items into different categories based on their functions (e.g., cutting, measuring, wearing).
Learning Outcome: This activity helps reinforce understanding of tool names and functions while also promoting classification skills.
3. Construction Site Dramatic Play
Setup: Set up a pretend construction site area with toy tools, safety gear, building materials (like blocks or cardboard), and a designated work zone.
Activity: Encourage children to take on different roles, such as construction workers, architects, or site supervisors, and engage in pretend play using the tools and safety gear to build structures.
Learning Outcome: Through role-playing, children develop creativity, cooperation, and an understanding of teamwork while also learning about the use of tools and safety practices.
4. Tool Matching Game
Setup: Create a matching game with pictures or cards depicting different tools and their names.
Activity: Invite children to match each tool card with its corresponding name card, discussing the purpose of each tool as they play.
Learning Outcome: This activity reinforces tool recognition and vocabulary, enhancing language development and cognitive skills.
5. Safety Gear Dress-Up
Setup: Provide a variety of safety gear items such as hard hats, safety goggles, vests, and gloves.
Activity: Encourage children to dress up in the safety gear, explaining the purpose of each item and how it helps keep construction workers safe on the job and even host a fashion show!
Learning Outcome: Through dress-up play, children learn about the importance of safety gear in construction and develop an awareness of safety practices.
6. Tool Construction Challenge
Setup: Provide building materials such as wooden blocks, cardboard tubes, and craft sticks, along with toy tools.
Activity: Challenge children to use the tools to construct different structures, encouraging them to plan, design, and build using their creativity and problem-solving skills.
Learning Outcome: This activity promotes fine motor skills, spatial awareness, and critical thinking as children experiment with construction techniques and tool use.
7. Tool Safety Talk
Setup: Gather children for a group discussion about tool safety.
Activity: Show pictures or illustrations of common tools and discuss safety rules and practices, such as wearing safety gear, handling tools properly, and asking for adult help when needed.
Learning Outcome: By learning about tool safety, children develop an understanding of the importance of caution and responsibility when using tools.
8. Outdoor Tool Exploration
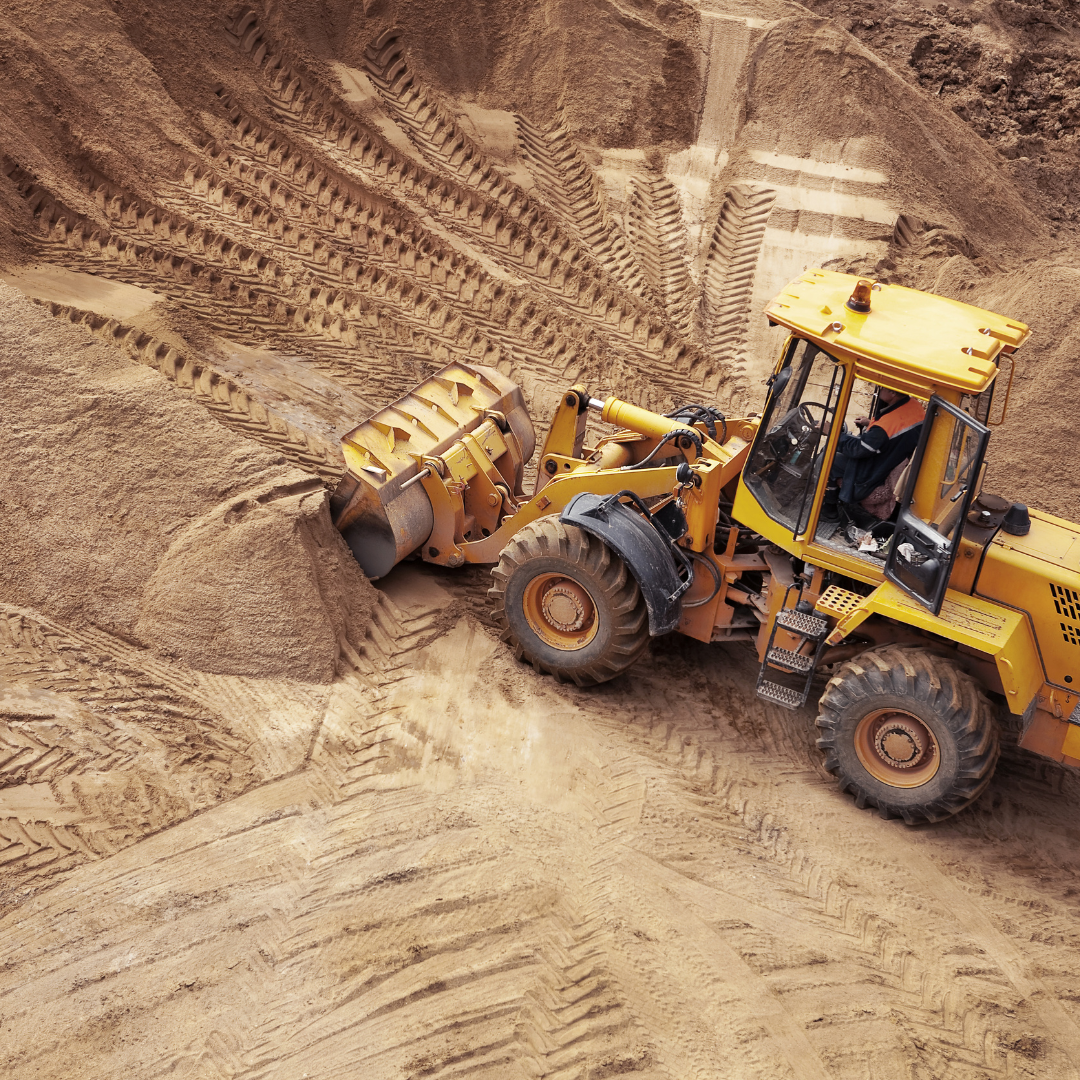
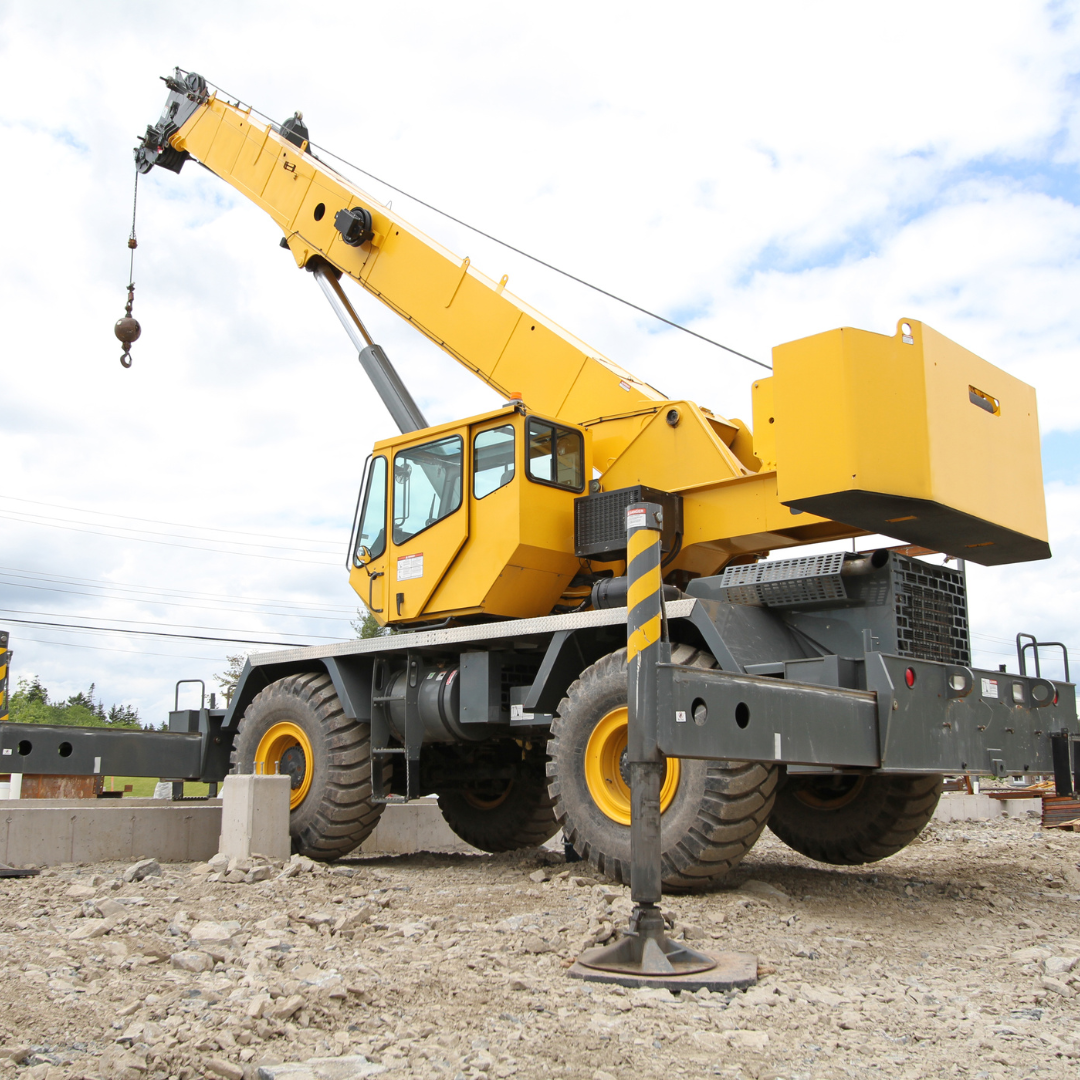
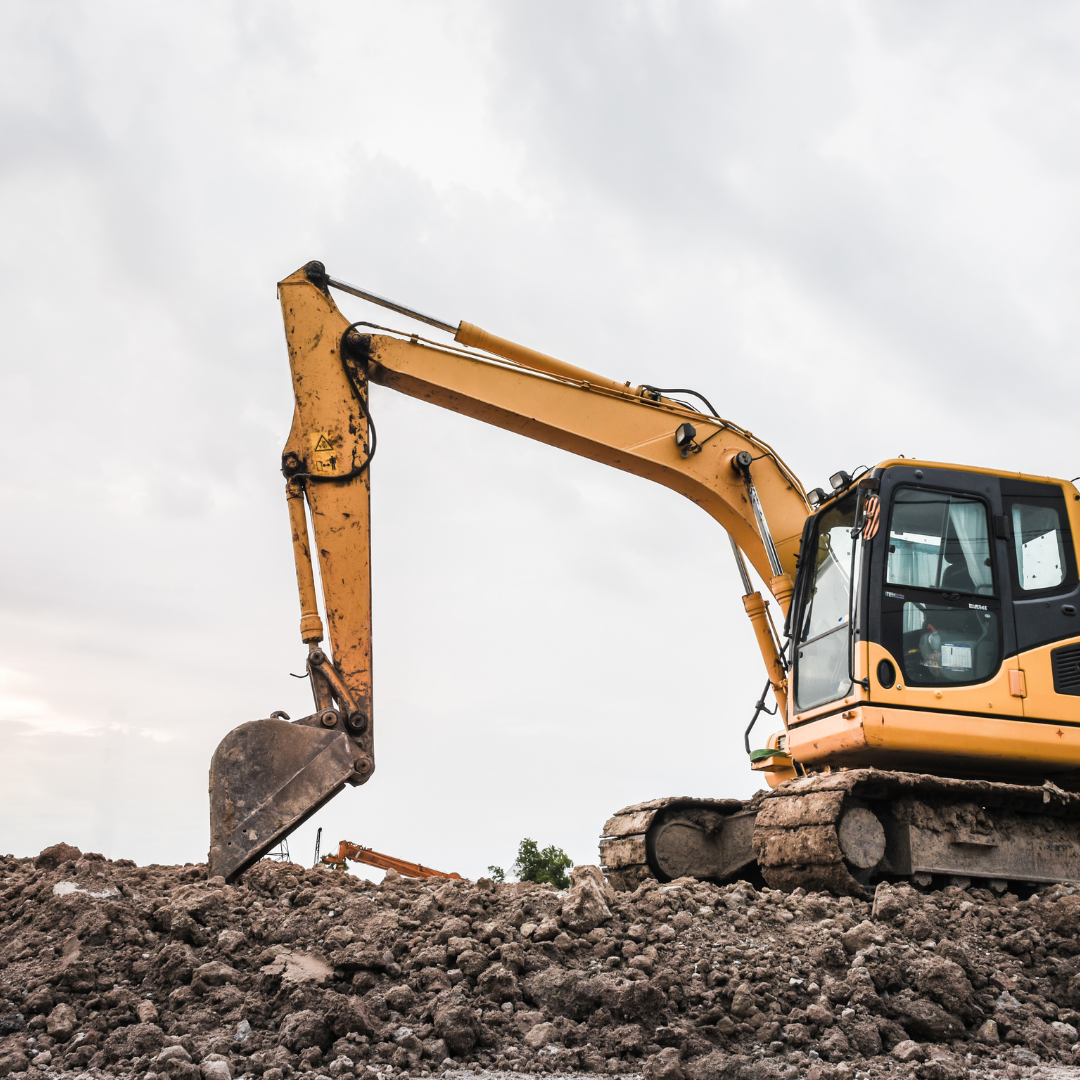
Setup: Take children on a supervised outdoor exploration of a construction site or a visit to a hardware store.
Activity: Allow children to observe real tools and construction equipment in action, asking questions and discussing their observations with adult guidance.
Learning Outcome: This hands-on experience provides children with real-world exposure to tools and construction, deepening their understanding and appreciation for the subject.
9. Tool Show and Tell
Setup: Invite children to bring one tool or safety gear item from home (with parental permission and supervision) to share with the class.
Activity:
Each child takes turns presenting their tool or safety gear item to the class. They can talk about what the tool is called, what it is used for, and why it is important. Encourage classmates to ask questions about the tool or safety gear item, such as how it works or when it is used.
Learning Outcome: This activity promotes language development, social interaction, and cultural awareness as children learn about different tools and safety gear items used in construction from their peers. It also provides an opportunity for children to practice public speaking skills and build confidence in sharing their knowledge with others.
10. Bike Obstacle Course with Construction Cones and Tape
Setup: Designate an outdoor play area or use a paved surface for the bike obstacle course. Gather construction cones and colorful tape.
Activity:
Create a bike obstacle course using construction cones and tape. Use the tape to mark paths, boundaries, and obstacles such as zigzag lines, circles to ride around, and slalom courses. Explain to the children that they will navigate their bikes through the obstacle course, practicing their bike riding skills while also learning about construction cones and tape.
Demonstrate how to safely ride a bike around the obstacles and follow the designated paths marked by the tape.
Learning Outcome: This activity promotes gross motor skills, coordination, and spatial awareness as children ride their bikes through the obstacle course. It also reinforces the concept of construction cones and tape as tools used to mark boundaries and create temporary structures in construction zones.
|
|
|

